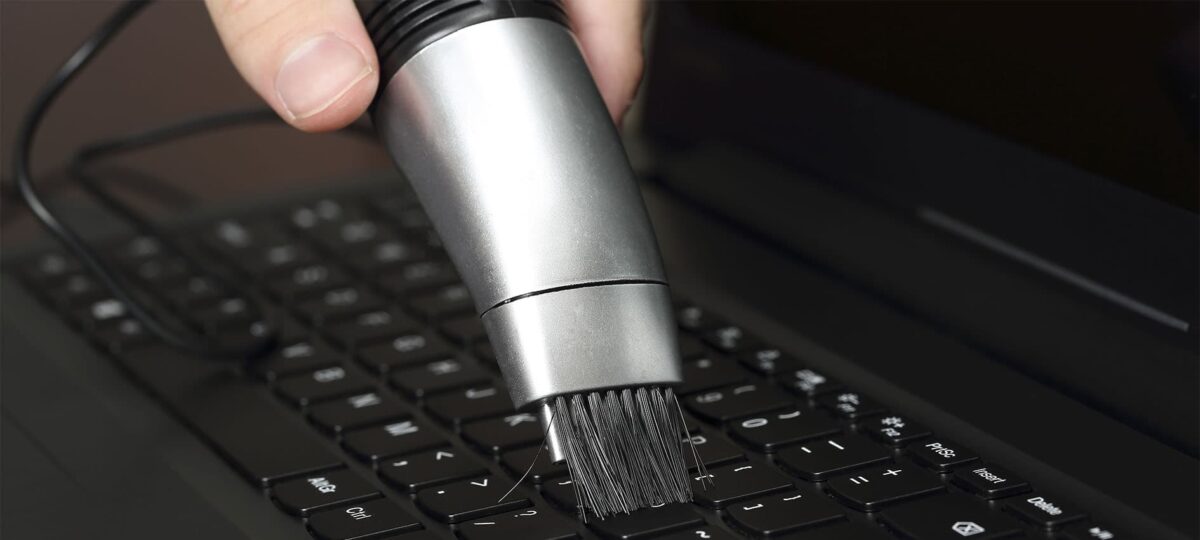
A laptop keyboard is a hotspot for dust, dirt, and grime, which can affect performance and hygiene. Over time, it accumulates particles from food, dust, and oil from your fingers, which can clog keys, make them stick, or even damage the keyboard. Cleaning your keyboard regularly not only helps with appearance but also improves functionality and longevity. In this guide, we’ll take you through the step-by-step process of how to properly clean your laptop keyboard, ensuring a clean and functional device.
Step 1: Power Off and Unplug the Laptop
The first and most important step in cleaning your laptop keyboard is ensuring that the laptop is turned off and unplugged from any power source. This prevents potential damage to the internal components or accidental keystrokes while cleaning. If your laptop has a removable battery, it’s a good idea to remove that as well.
Step 2: Shake and Tap Gently to Remove Loose Debris
Hold the laptop upside down at a slight angle and gently shake it. This simple action dislodges loose debris such as crumbs, dust, and dirt that have settled between the keys. Be careful not to shake too hard or tap the laptop too aggressively, as this could cause damage. You can also tap the bottom of the laptop gently while it’s upside down to encourage any remaining debris to fall out.
Step 3: Use Compressed Air to Remove Dust
Using compressed air is one of the most effective ways to clean a laptop keyboard. Compressed air comes in a can and provides a powerful stream of air to blow dust and particles out from under the keys. When using compressed air, hold the can at a slight angle and spray in short bursts to avoid damaging the keys. Move the can back and forth across the keyboard, making sure to direct the air between the keys. If you don’t have compressed air, a small handheld vacuum cleaner with a nozzle attachment can also be used, but make sure it is safe for electronics.
Step 4: Clean the Keycaps with a Microfiber Cloth
Once the loose dirt has been removed, it’s time to clean the surface of the keycaps themselves. A microfiber cloth is the best tool for this, as it is gentle enough not to scratch the keys but effective enough to remove oils and grime. Lightly dampen the cloth with water or an electronic-safe cleaner, making sure not to oversaturate it. Gently wipe the tops of each key, focusing on any areas that seem particularly dirty. If you come across tough spots, you can use a cotton swab dampened with cleaner for precision cleaning.
Step 5: Clean Between the Keys
The gaps between the keys can accumulate a surprising amount of dirt and dust. To clean these tight spaces, use a soft brush, such as a makeup brush or a small paintbrush, to gently sweep away the debris. Alternatively, a toothpick can be used for more stubborn particles that may be stuck between the keys. Move carefully to avoid damaging any components underneath the keyboard.
Step 6: Use a Disinfectant Wipe to Sanitize the Keyboard
After cleaning the keyboard’s physical grime, it’s essential to sanitize it, especially since keyboards are a breeding ground for bacteria and germs. Use a disinfectant wipe that is safe for electronics or a cloth dampened with a mixture of water and isopropyl alcohol. Ensure the wipe is not too wet to prevent any liquid from seeping into the keyboard. Gently wipe down the entire keyboard, making sure to cover all the keys and surrounding areas. This will kill any bacteria and leave your keyboard fresh and clean.
Step 7: Allow the Keyboard to Dry
After you have finished cleaning and sanitizing your keyboard, allow it to dry completely before turning the laptop back on. This step is critical because any remaining moisture can damage the electronic components inside the laptop. You can leave the laptop open and let it air dry naturally, which usually takes about 10-15 minutes. Avoid using any heat sources like a hair dryer, as excessive heat could warp the plastic keys or damage internal components.
Step 8: Preventative Maintenance Tips
To keep your laptop keyboard cleaner for longer, there are a few preventative measures you can take. Avoid eating or drinking over your keyboard, as this is the most common way crumbs and liquids get trapped between keys. Regularly wash your hands before using your laptop to prevent oils and grime from building up on the keys. You can also use a keyboard cover, which is a thin silicone layer that protects the keys from dirt and dust while still allowing you to type comfortably.
Conclusion
Cleaning your laptop keyboard is a straightforward process that can greatly improve both its appearance and functionality. By following the steps outlined in this guide—powering off your device, shaking out debris, using compressed air, wiping the keys, and sanitizing the surface—you can effectively remove dirt, grime, and germs from your keyboard. Regular maintenance and cleanliness will ensure that your laptop remains in good working condition for a long time. Remember, a clean keyboard is not only visually pleasing but also promotes better hygiene and a smoother typing experience.

