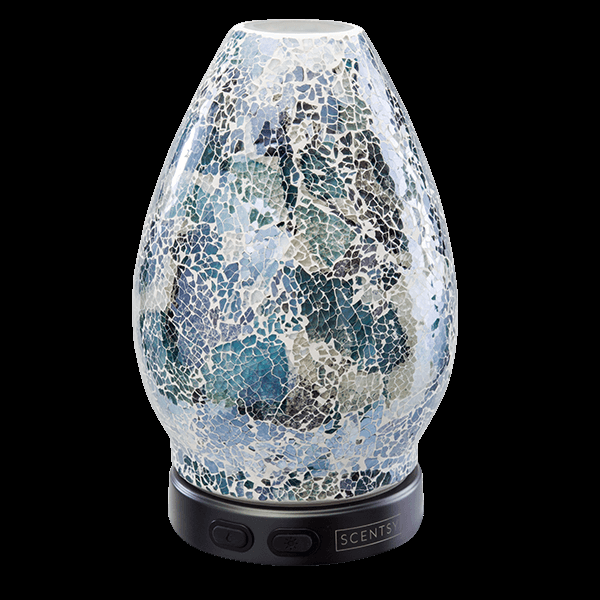
You’ve invested in an electric wax warmer to create a cozy atmosphere, but did you know that regular cleaning and maintenance are crucial to extend its lifespan? You’re probably wondering what it takes to keep your warmer in top condition. From preparing your warmer for cleaning to performing regular safety checks, there are simple steps you can take to prevent wax buildup, spills, and even safety hazards. By following these essential tips, you’ll be able to enjoy your warmer for a long time – but first, let’s get started with the basics.
Prepare Your Warmer for Cleaning
Turn off and unplug your electric wax warmer to avoid any accidental start-ups or electrical shocks while you’re cleaning it. This simple step ensures your safety and prevents any unwanted messes.
Next, let your warmer cool down completely before you start cleaning. This will prevent any wax from melting or becoming too runny, making the cleaning process much easier.
Move your warmer to a well-ventilated area, away from any flammable materials or surfaces that could be damaged by wax spills.
Cover your work surface with newspaper, paper towels, or a cleaning cloth to protect it from any wax drips or spills. Having a clean and clear workspace will help you stay focused on the task at hand.
Before you begin, gather all the necessary cleaning supplies, such as a soft cloth, gentle cleaning solution, and a small brush or cotton swabs. Having everything within reach will save you time and effort in the long run.
Now that you’ve prepared your warmer and workspace, you’re ready to start the cleaning process.
Remove Wax Residue and Debris
Your electric candle warmerS wax warmer’s interior and exterior surfaces likely have a thick layer of wax residue and debris accumulated from past uses.
To remove this buildup, start by wiping down the exterior with a soft cloth or paper towel. This will help prevent wax residue from spreading to other areas during the cleaning process.
Next, use a wax scraper or a credit card to gently remove large chunks of wax from the warmer’s interior. Be careful not to scratch the surface.
You can also use a paper towel to blot the wax, but avoid rubbing, as this can push the wax further into the surface.
For more stubborn wax residue, dampen a cloth with warm water and gently wipe the area. Don’t soak the warmer, as this can damage the electrical components.
Continue wiping until the wax residue is removed. Once you’ve removed the bulk of the wax, you’re ready to move on to the next step in the cleaning process.
Deep Clean the Warmer Dish
With the wax residue and debris removed, focus now shifts to deep cleaning the warmer dish, the area where the wax melt occurs.
You’ll want to remove any stubborn stains or residue that may have accumulated over time. Mix a solution of equal parts water and white vinegar in the warmer dish, making sure to cover the entire surface. Let it sit for about 10-15 minutes to allow the solution to penetrate and loosen any grime.
Next, use a soft-bristled brush or a non-abrasive scrubber to gently scrub away any remaining stains or residue. Be careful not to scratch the warmer dish.
Rinse the dish thoroughly with warm water to remove any remaining vinegar solution. Use a soft cloth to dry the dish, ensuring it’s completely dry before replacing it in the warmer.
This deep cleaning process will help maintain the performance and longevity of your electric wax warmer. Regular deep cleaning will prevent the buildup of residue and debris, ensuring a smooth and consistent melting process.
Prevent Wax Buildup and Spills
To keep your electric wax warmer in top condition, you need to prevent wax buildup and spills, which can be a real nuisance.
These issues can lead to a messy warmer, clogged heating elements, and even fires. To avoid these problems, always ensure you’re using the right amount of wax for your warmer.
Don’t overfill it, as this can cause wax to spill over during melting. Also, trim the wick of your wax cube or melt to about 1/4 inch before placing it in the warmer.
This will help prevent wax from dripping onto the warmer’s surface. When pouring melted wax into a new container, do it slowly and carefully to prevent spills.
Regular Maintenance and Safety Checks
Regularly inspect your electric wax warmer for signs of wear and tear, and perform routine maintenance to ensure it continues operating safely and efficiently.
Check the cord for frays, cuts, or exposed wires, and replace it if you notice any damage. Make sure the warmer is placed on a heat-resistant surface, away from flammable materials and curious pets or children.
You should also check the warmer’s temperature control and thermostat to ensure they’re functioning correctly. If you notice the warmer is overheating or not heating evenly, it may be a sign of a faulty thermostat. Replace it if necessary to prevent accidents or fires.
Perform a deep clean of your electric wax warmer every few months to remove any built-up wax residue or debris. Use a soft cloth and gentle cleaning products to avoid damaging the warmer’s surface.
Conclusion
You’ve now mastered the simple steps to clean and maintain your electric wax warmer. By following these tips, you’ll extend its lifespan, keep it in top condition, and ensure a safe and enjoyable waxing experience. Remember to clean your warmer regularly, inspect its components, and take preventative measures to avoid wax buildup and spills. With these habits, your electric wax warmer will continue to serve you well for a long time.


